photo home-34.png photo home-34.png photo home-34.png photo home-34.png photo home-34.png photo home-34.png photo home-34.png
Showing posts with label cookies. Show all posts

Monday, July 25, 2016

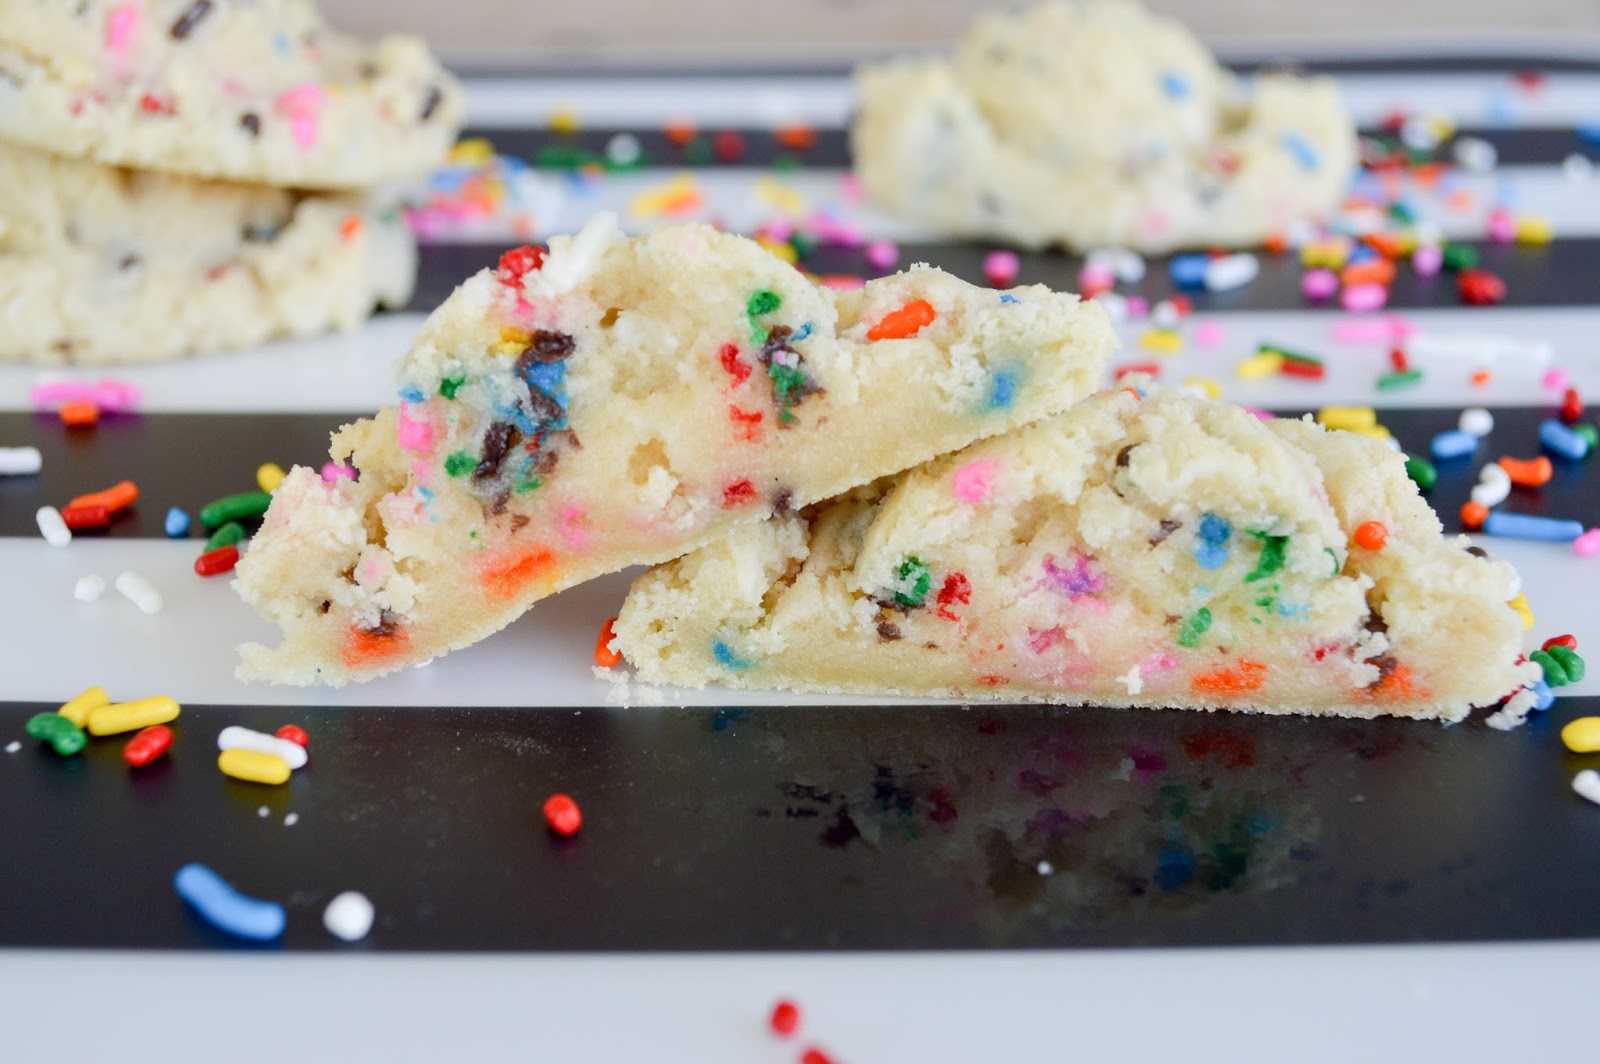
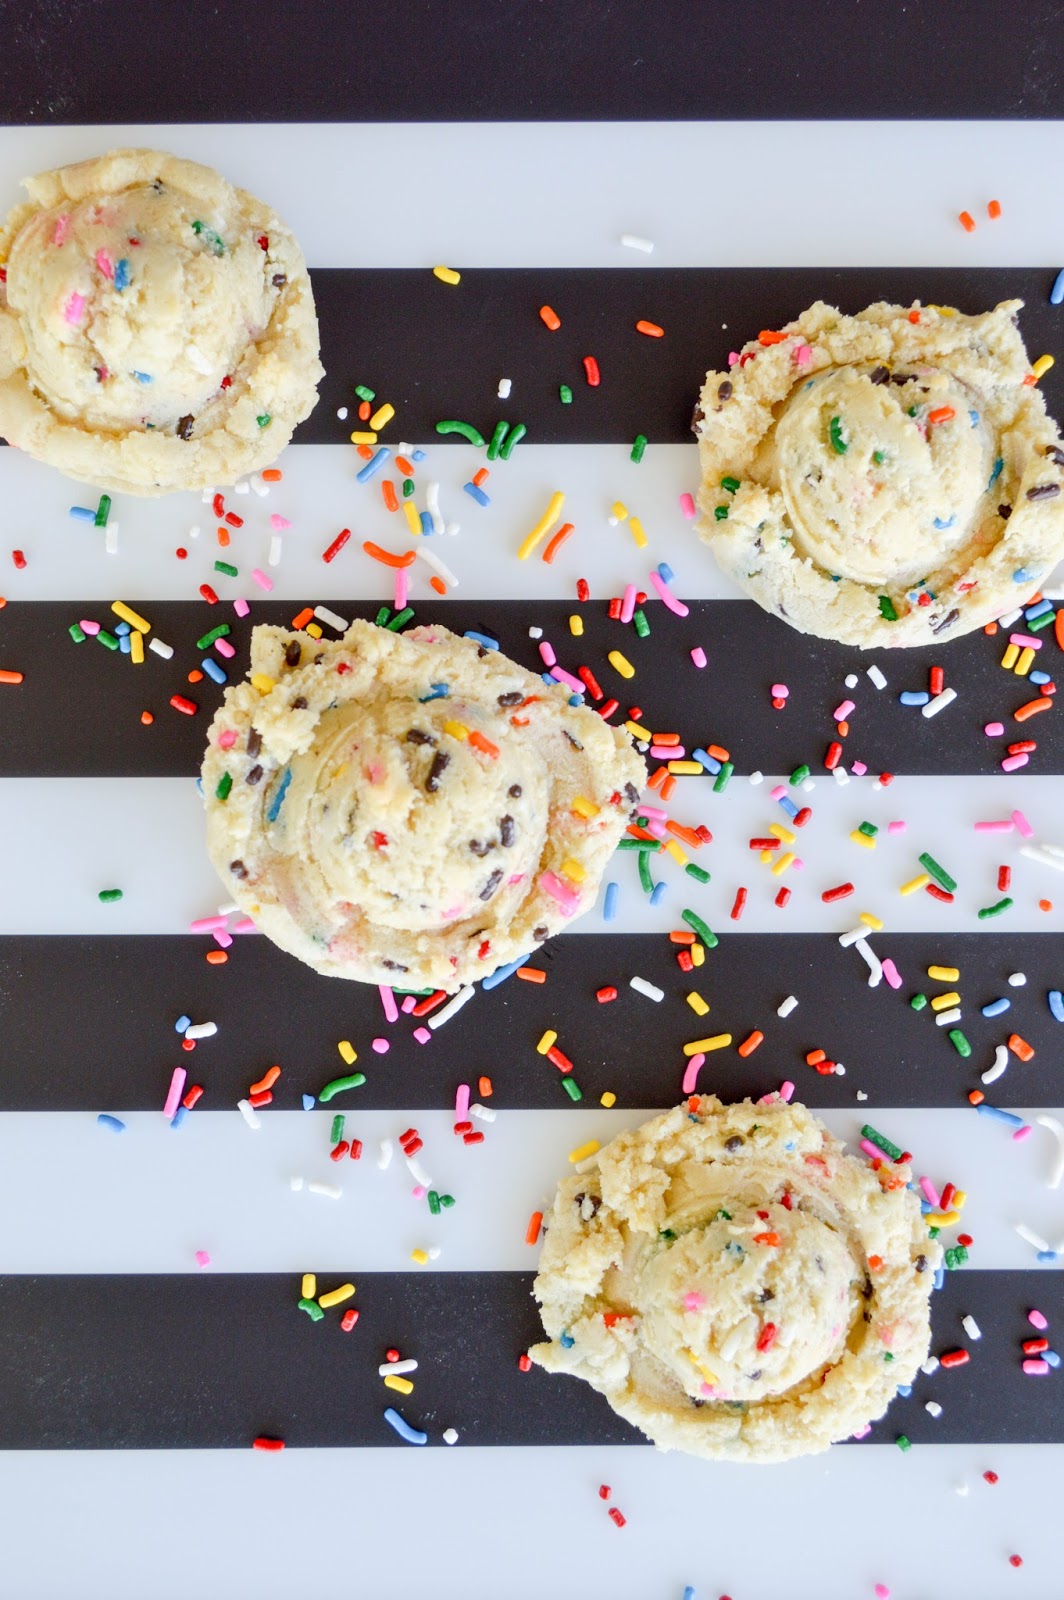
Funfetti Sugar Cookies


S P R I N K L E S!!! We all know my love and affinity for anything covered in waxy jimmie sprinkles. Even our wedding cake was encapsulated in the things. And I spent the better portion of my Friday night binge watching the Great British Baking Show...So what better way to spend my weekend, than baking up a large batch of ooey gooey cookies, with sprinkles in, on, and around every crevice of sugary dough. I also love the mixed use of extracts between almond and vanilla. Both pack a flavorful punch, but compliment each other really well. Just a forewarning, give yourself plenty of time to chill the dough before baking, so plan accordingly. 


Funfetti Sugar Cookies

Ingredients:

  • 1/2 cup unsalted butter, softened
  • 3/4 cup granulated sugar
  • 1 large egg, room temperature
  • 1 tsp. vanilla extract
  • 1 tsp. almond extract
  • 1 1/2 cups all-purpose flour
  • 2 tsp. corn starch
  • 3/4 tsp. baking soda
  • pinch of salt
  • 3/4 cup jimmie sprinkles

In a large bowl, or stand mixer, cream together the butter and sugar for 5 or so minutes until light and fluffy. It should be a pale yellow color.

Whisk in the egg, vanilla, and almond extract.

Add in the flour, corn starch, baking soda and salt. Mix until combined, about 1 minute. Then fold in the sprinkles, careful not to overmix.

Using a large cookie scoop or spoon, scoop the dough onto a baking sheet or into a tupperware container. Cover and place in the friegde for at least 2 hours, and up to 4 days. It is important not to cook these cookies while the batter is warm, or they will not hold shape.

When ready to bake, preheat oven to 350 degrees F. Line a baking sheet with silpat or parchment paper. Place the prepared cookie dough rounds about 2 inches apart on the baking sheet. I baked only about 6-8 cookies at a time. Bake in the middle rack for 9 minutes. Remove from the heat immediately.

Tuesday, October 13, 2015

Brown Sugar Ice Cream with Pumpkin Gingersnaps


I always like a little texture with my ice cream. Growing up I always went for simple vanilla ice cream, but then topped it with an excessive amount of sprinkles and gummy bears. There really is nothing that beats that combo for me, but I still like to try! October is still going strong on the pumpkin front, and I just keep churning the recipes out {see what I did there?!}. This simple brown sugar ice cream base pairs perfectly with crumbled pumpkin gingersnaps, soaked in browned butter. If you're not huge into pumpkin, but still want to be basic, try this subtle pumpkin flavored treat. Serve up a bowl while you sit by the warm fire, or if you are like us and the temps are back towards the 100s {seriously AZ?} then cool down with this fall-inspired dessert! 


Brown Sugar Ice Cream with Pumpkin Gingersnaps

Ingredients:
  • 1 cup heavy cream
  • 2 cups milk
  • 3 egg yolks
  • 1/2 cup brown sugar
  • 1 tbsp. pumpkin pie spice
  • 2 tbsp. honey
  • 6 pumpkin gingersnaps, crumbled
  • 3 tbsp. butter

In a medium saucepan, heat together the cream, milk, 1/4 cup of the sugar, spice and honey over medium-high heat, stirring to melt the sugar and honey. Meanwhile, whisk together the egg yolk and the remaining 1/4 cup sugar in a medium bowl and set aside. 

Once the milk mixture begins to simmer, ladle 1/2 cup of the simmering milk into the egg/sugar mixture, slowly pouring as you whisk constantly. Do this one more time with another 1/2 cup of the simmering milk. This allows your eggs to temper, before adding them back into the ice cream base, keeping them from turning into scrambled eggs. 

Slowly add the tempered egg mixture back into the saucepan, whisking as you pour. Bring the mixture back up to a simmer and allow it to thicken slightly, until it coats the back of a spoon. Remove from the heat and pour through a fine mesh sieve into a large bowl. Cover with plastic wrap and place into the fridge to cool completely, 8 hours or overnight.

Once the ice cream base has chilled, remove from the fridge and process the base in your ice cream mixer according to its specific directions. While the ice cream begins to churn, heat the butter over medium heat until it begins to brown and has a nutty fragrance. Remove form the heat and add the crumbled cookies. Mix to combined. During the last 5 minutes of mixing, add in the buttered cookies.

Add the churned ice cream into an airtight container and place in the freezer until hardened, about 4 hours before serving.

Tuesday, September 29, 2015

Pumpkin Spice Macaron Ice Cream Sandwiches


Remember when I basically promised you a new pumpkin recipe every week until your can't stand me anymore? Well I'm keeping good on that promise, keeping you basic bitches happy, and slowly making the rest of you resent this post. Ahh, but I'll win you back. I promise. I was recently tagged in a photo on Instagram of a French macaron ice cream sandwich, so obviously I immediately got to work creating my own version from (almost) scratch. Unless you have time to make homemade pumpkin ice cream (which you definitely should do, and then bring me some), feel free to buy a pint to use for these sandwiches, and devour the rest on the couch watching Netflix reruns of Friends (my favorite past time). Okay, enough with the run on sentence about ice cream. Basically, these are the epitome of fall dessert, and if you have any leftovers, call me. I'll be right over!   


Pumpkin Spice Macaron Ice Cream Sandwiches

Ingredients:
  • 1 cup almond flour
  • 1 1/4 cup powdered sugar
  • 1 tsp. pumpkin pie spice
  • 3 egg whites, room temperature
  • 1/2 tsp. cream of tartar
  • pinch of fine salt
  • 1/4 cup superfine sugar
  • orange gel food coloring (optional)

Prepare 2 baking sheets with silpat, parchment paper, or macaron specific baking liners. Also, place a piping bag or gallon ziplock bag in a large cup with the top folded over the outsides. This will make it easier when you transfer the batter.

Whisk the almond flour, powdered sugar, and pumpkin pie spice together in a medium bowl. Run the mixture through a fine mesh sieve into a larger bowl. You may have a little bit of almond flour that is too large to fit through the sieve. Discard. This is a very important step if you want the macarons to be smooth.

In a stand mixer or bowl with a hand mixer, whisk the egg whites and the cream of tartar on medium speed until foamy. Increase speed to medium-high and add in the superfine sugar. Whisk until stiff peaks form and the mixture is glossy, about 5-8 minutes more. When you remove the whisk, the whipped mixture should stand up off of the whisk. Add in the orange food coloring and mix until combined.

Fold the egg white and sugar mixture into the almond flour mixture until well combined. The batter should be very fluid and when you lift the batter up with a spatula, it should fold back into itself within a matter of seconds. Lastly, add in the almond extract and mix until combined.

Place the batter into a piping bag or large ziplock bag that you prepared earlier. Cut the tip off, about 1/4-inch. Pipe 1-inch circles about an inch from each other. They should not spread too much, so you can pipe them fairly close together. Once all of the batter has been piped, tap each tray 2-3 times against the counter to release any air bubbles in the batter. Then let the macarons dry out at room temperature for 30 minutes to an hour until they are set and firm to the touch. The length of drying time will vary depending on how humid it is where you are.

Preheat oven to 325 degrees F. Place the 1st tray in the oven on the middle to bottom part of the oven (farthest from the heat source) and cook for 10 minutes, rotating halfway through. The cookies will be just beginning to turn golden. Remove and set on the counter to cool for 2-3 minutes until transferring onto a wire cooling rack. Repeat with the remaining trays of cookies.

Once the cookies are cooled, add a small scoop of pumpkin ice cream onto a cookie, and carefully top with another cookie. Keep in an airtight container in the freezer until serving. Best when served the same day.

Tuesday, August 25, 2015

Blueberry Peach Tartlets


Is it clear that I just do not want summer to end? I know we still have a bit more to go before the temps drop below 100 degrees, but something about having a nice summer tan and being able to eat as many peaches as I can while they are rips is just so fitting for me. Speaking of tan, I am actually more like a lobster right now, seeing as I just got back from my bachelorette party weekend and those couple of hours tanning on the sailboat turned from golden bronze to singed real quick. I can't thank my girlfriend enough for throwing me the most amazing beach house weekend. It was the perfect "send-off" before getting to marry the love of my life. But I couldn't leave my betrothed for the weekend without some treats while I was gone. These tartlets are perfectly-sized hand-pies and filled with ripe summer fruit and topped with a sweet icing. Make these for a breakfast, or even dessert for an homage to summer and all things peachy!

 Love you girls! 


Blueberry Peach Tartlets

Ingredients:
  • 1 cup whole wheat pastry flour
  • 1/2 cup cornmeal
  • 1/4 cup sugar, divided
  • pinch of salt
  • 7 tbsp. unsalted butter, cut into pieces and chilled
  • 1/4 cup cold water
  • 1 peach, pitted, chopped into 1/2-inch pieces
  • 1/2 cup blueberries
  • 1/2 cup powdered sugar
  • 2 tbsp. water
In a medium bowl whisk together the flour, cornmeal, 3 tbsp. of the sugar and the salt. Using your hands, crumble the butter into the dough until it resembles a coarse meal. Add the water in 1 tbsp. at a time, mixing until dough forms, careful not to make the dough too wet.

Lightly flour your work surface and roll the dough out into a log. Cut the dough into 6-8 evenly sized pieces. Flatten them into disks, wrap each disk in plastic wrap and place in the fridge for 30 minutes.

Preheat oven to 350 degrees F. Remove the disks from the fridge, roll them out into 4-inch circles and place them onto a baking sheet lined with parchment paper or a silicon baking mat. Toss the peaches and blueberries in the remaining tbsp. of sugar and place a heaping spoonful of the fruit in the center of each disk. Fold the sides of the disks up around the fruit and place into the oven to bake for 35 minutes, until the edges are golden brown.

Remove form the heat and allow to cool on a rack. Once the tartlets have cooled, whisk the powdered sugar and the water together to make a smooth icing. Drizzle the icing over the tartlets and serve.


Slightly adapted from Food & Wine

Tuesday, July 7, 2015

Bite-Sized Brown Sugar Chocolate Chip Cookies


You know Paradise Bakery's chipper cookies? Of course you know the ones. Those little bite-sized morsels of heaven that you buy a bag of at the mall food court in hopes of snacking on them throughout your movie, but then end up eating them all while in line for popcorn. I put my kitchen to the test to make my own at-home version with lots of molasses-rich brown sugar, a crunchy exterior, and a perfectly doughy interior. These are the perfect cookies for anytime of the day or for any event as a dessert or even a party favor. However, this batch never made it out of the house. All fingers are pointing to my fiance. 


Bite-Sized Brown Sugar Chocolate Chip Cookies

Ingredients:
  • 1/2 cup unsalted butter, room temperature
  • 1 1/4 cup dark brown sugar
  • 1 egg, room temperature
  • 1 tsp. vanilla
  • 2 cups whole wheat pastry flour
  • 1 tsp. baking soda
  • 1/2 tsp. cinnamon
  • 3/4 tsp. cornstarch
  • 1/4 tsp. salt
  • 1/2 cup chocolate chips
Preheat oven to 325 degrees F. 

In the bowl of a stand mixer, cream the butter and the sugar together until no sugar lumps remain. Add in the egg and mix well until combined. Scrape down the sides while mixing as needed. Add in the vanilla and mix again for 1 minute.

In a medium bowl, whisk the flour, soda, cinnamon, cornstarch, and salt. Add the dry ingredients to the wet, 1/3 at a time mixing well between each addition. Fold in the chocolate chips.

Scoop 1 tbsp. of dough at a time onto 2 non-stick cookie sheets. Bake for 6-7 minutes, just until golden. Remove from the oven and allow to cool on a wire rack before storing in an airtight container for up to 4 days.

Monday, May 18, 2015

Lemon French Macarons


I believe that macarons were invented for special occasions. They are just so decadent and delicate, that they deserve a special audience, and people who will appreciate the time and effort that it takes to make such a beautiful masterpiece. Or maybe it's just all of the love speaking, since I witnessed one of my best friend's since 2nd grade get engaged this weekend? We had the pleasure of being present when her boyfriend proposed at her birthday dinner on Friday night, which completely took her by surprise. And just like macarons, love takes time and effort to build such a strong bond, never to be broken. So cheers to Melissa and John! May you be blessed with a long and healthy marriage, filled with LOTS of macarons! 


Lemon French Macarons

Ingredients:
  • 1 cup almond flour
  • 1 cup powdered sugar
  • 2 egg whites, room temperature
  • 1/4 tsp. cream of tartar
  • 1/4 cup superfine sugar
  • 1/2 tsp. lemon juice
  • 1 tsp. lemon zest
  • 1/2 tsp. almond extract
  • yellow food coloring
Lemon Buttercream Filling
  • 3 tbsp. unsalted butter, room temperature
  • 1 cup powdered sugar
  • 2 tsp. heavy whipping cream
  • 1 tbsp. lemon juice
  • 1 tsp. lemon zest
  • 1 tsp. vanilla extract
  • yellow food coloring

Prepare 2-3 baking sheets with silpat, parchment paper, or macaron specific baking liners. Also, place a piping bag or gallon ziplock bag in a large cup with the top folded over the outsides. This will make it easier when you transfer the batter.

Whisk the almond flour and powdered sugar together in a medium bowl. Run the mixture through a fine mesh sieve into a larger bowl. You may have a little bit of almond flour that is too large to fit through the sieve. Discard. This is a very important step if you want the macarons to be smooth.

In a stand mixer or bowl with a hand mixer, whisk the egg whites on medium speed until foamy. Add in the cream of tartar. Increase speed to medium-high and add in the superfine sugar. Whisk until stiff peaks form and the mixture is glossy, about 5-8 minutes more. When you remove the whisk, the whipped mixture should stand up off of the whisk. Add in the lemon juice, zest, vanilla, and food coloring. Whip for 1 minute more.


Fold the egg white mixture into the almond flour mixture until well combined. The batter should be very fluid and when you lift the batter up with a spatula, it should fold back into itself within a matter of seconds.

Place the batter into a piping bag or large ziplock bag that you prepared earlier. Cut the tip off, about 1/4-inch. Pipe 1-inch circles about an inch from each other. They should not spread too much, so you can pipe them fairly close together. Once all of the batter has been piped, tap each tray 2-3 times against the counter to release any air bubbles in the batter. Then let the macarons dry out at room temperature for 30 minutes to an hour until they are set and firm to the touch. The length of drying time will vary depending on how humid it is where you are.

Preheat oven to 325 degrees F. Place the 1st tray in the oven on the middle to bottom part of the oven (farthest from the heat source) and cook for 12-15 minutes, rotating halfway through. The cookies will be just beginning to turn golden. Remove and set on the counter to cool for 2-3 minutes until transferring onto a wire cooling rack. Repeat with the remaining trays of cookies.


To make the buttercream; whip the butter until light and fluffy. Add in the powdered sugar, lemon juice, zest, vanilla, cream, and food coloring. Mix until well combined. Pour the buttercream into a piping back or ziplock bag. Cut the end off of the bag and pipe a small amount of buttercream onto one cookie, then top with another cookie. Serve immediately, or store in an airtight container in the freezer. Remove from the freezer 30 minutes before serving.

Monday, April 13, 2015

French Macarons for Beginners


Ahh, the ever elusive french macaron. It's mysterious in its ways if you haven't attempted making them yourself, but once you do, you come to find out that they are actually quite simple in nature. I have been obsessed (just like 99.9% of all other 20-something girls out there) with these gems for a few years now, and anytime a local bakery offers them, I just have to order one....dozen. A few months back, we made dream boards at work for 2015, and the very first thing I cut out and put on my board was a stack of french macarons. I have been determined to try my hand at them for some time now, but to be quite honest I have been afraid. Until now. Except I may have backed myself into a corner that I can't bake my way out of, because now that I bragged about how easy they were, my fiance has already requested 2 new flavors, pistachio and dulce de leche. These macarons I am showing you how to make today are just a plain almond flavored cookie with a simple chocolate ganache. If I do have one suggestion, do NOT, I repeat, DO NOT, make your own almond flour. Just fork up the extra few bucks and buy it pre-made at the store. You can thank me later. It took me 2 bags of slivered almonds to make a cup of almond flour, leaving me with 2 cups of almond chunks and aching hands from trying to sift through all of it for about 30 minutes. Other than that, I found the process to be quite therapeutic. Each step takes precision, and then you are rewarded with a little break time. Perfect recipe for a rainy day at home or when you really want to impress someone. Stay tuned, as I plan on trying my hand at an infinite amount of flavors in the near future!


French Macarons for Beginners

Ingredients:
  • 1 cup almond flour
  • 1 3/4 cup powdered sugar
  • 3 egg whites, room temperature
  • 1/2 tsp. cream of tartar
  • pinch of fine salt
  • 1/4 cup superfine sugar
  • 1/2 tsp. almond extract
Chocolate Ganache
  • 1/2 cup heavy whipping cream
  • 4 oz. bittersweet chocolate, chopped
  • 2 tbsp. unsalted butter, chopped into cubes at room temperature
Prepare 2-3 baking sheets with silpat, parchment paper, or macaron specific baking liners. Also, place a piping bag or gallon ziplock bag in a large cup with the top folded over the outsides. This will make it easier when you transfer the batter.

Whisk the almond flour and powdered sugar together in a medium bowl. Run the mixture through a fine mesh sieve into a larger bowl. You may have a little bit of almond flour that is too large to fit through the sieve. Discard. This is a very important step if you want the macarons to be smooth.

In a stand mixer or bowl with a hand mixer, whisk the egg whites and the cream of tartar on medium speed until foamy. Increase speed to medium-high and add in the superfine sugar. Whisk until stiff peaks form and the mixture is glossy, about 5-8 minutes more. When you remove the whisk, the whipped mixture should stand up off of the whisk. 

Fold the egg white and sugar mixture into the almond flour mixture until well combined. The batter should be very fluid and when you lift the batter up with a spatula, it should fold back into itself within a matter of seconds. Lastly, add in the almond extract and mix until combined.

Place the batter into a piping bag or large ziplock bag that you prepared earlier. Cut the tip off, about 1/4-inch. Pipe 1-inch circles about an inch from each other. They should not spread too much, so you can pipe them fairly close together. Once all of the batter has been piped, tap each tray 2-3 times against the counter to release any air bubbles in the batter. Then let the macarons dry out at room temperature for 30 minutes to an hour until they are set and firm to the touch. The length of drying time will vary depending on how humid it is where you are.


Preheat oven to 325 degrees F. Place the 1st tray in the oven on the middle to bottom part of the oven (farthest from the heat source) and cook for 10 minutes, rotating halfway through. The cookies will be just beginning to turn golden. Remove and set on the counter to cool for 2-3 minutes until transferring onto a wire cooling rack. Repeat with the remaining trays of cookies.


To make the ganache; heat the cream over medium-high heat until just barely beginning to bubble. Pour over the chocolate in a medium bowl, stirring until the chocolate is melted and creamy. Add in the butter and stir until combined. Place in the fridge for 30 minutes until set. Pour the ganache into a piping back or ziplock bag. Cut the end off of the bag and pipe a small amount of chocolate onto one cookie, then top with another cookie. Serve immediately, or place into an airtight container in the freezer. Remove from the freezer 30 minutes before serving. 

Tuesday, March 31, 2015

S'mores Bars


I made these last week as a trial run for an Easter dessert, since it's all warm and toasty here in Phoenix, and the closest thing I'm getting to a campfire is popping a tray of s'mores bars in the oven for under 30 minutes. They ended up being devoured in about 24 hours when my future brother, sister, and nephew-in-laws came into town. We spent a couple of days with them over spring break where we attended a spring training game (I have the shorts tan to prove it) and I showed them around the Phoenix area on a mini driving tour. It was a great time had by all, and the s'mores bars didn't hurt either!

S'mores Bars

Ingredients:
  • 1/2 cup unsalted butter, room temperature
  • 3/4 cup dark brown sugar
  • 1 egg, room temperature
  • 1 tsp. vanilla extract
  • 1 cup all-purpose flour
  • 1 cup graham cracker crumbs
  • 1/2 tsp. baking powder
  • pinch of cinnamon
  • 1 heaping cup of marshmallow fluff
  • 1 heaping cup of semi-sweet chocolate chips
Preheat oven to 350 degrees F. Prepare an 8x8-inch baking dish by lining it with tin foil, allowing it to come up over the sides. Lightly spray the tin foil with non-stick cooking spray.

In a large bowl, cream the butter and sugar together on medium speed until light and fluffy. Lower speed and add in the egg. Once the egg is combined, add in the vanilla, scrape down the sides of the bowl, and mix for another minute.

In a medium bowl, toss together the flour, graham cracker crumbs, baking powder, and cinnamon. With the stand mixer on low, slowly add the dry ingredients into the wet ingredients until just combined. Scrape down the sides and mix for another 15 seconds.

Place about 2/3 of the mixture into the bottom of the prepared dish, using your hands to press it down firmly and evenly. Using a rubber spatula sprayed with non-stick cooking spray, spread the fluff on top of the dough in an even layer. Sprinkle the chocolate chips on top of the marshmallow fluff and finish off the final layer by adding the remaining 1/3 of the dough by dropping it in sections on the top.


Place in the oven for 25 minutes, until the top is golden brown and the chocolate has melted. Remove from the oven and allow to cool completely before removing it from the dish and discarding the tin foil. Cut into 2-inch squares and serve. 

Thursday, March 26, 2015

Monster Cookies


Andrew and I are lucky enough to have bought a house across the street from our doppleganger couple. The guys are both from the east coast, and the girls are both Phoenix natives, naturally. The guys have obsessions with Taylor Swift that the girls just don't get. We are both newly engaged. And the most important quality, we all love wine. And dessert. We were recently invited over to dinner at their house where they put out the most amazing spread of homemade bruschetta, pizzas, roasted peppers, olives, and cheeses. We were asked to bring a dessert, and I thought, I'll just make something that has everything in it. Literally. Everything. Sugar, butter, egg, chocolate, oreos, peanut butter, oats. They're all in the party. The key factor in making these monster cookies is that you have to actually make them MONSTER in size. I'm talking like the size of your face. No joke. Maybe warm them up in the microwave and top them with a huge scoop of vanilla ice cream? Yes. Definitely do that. 


Monster Cookies

Ingredients:
  • 1/2 cup unsalted butter, room temperature
  • 1/2 cup brown sugar
  • 1/2 cup granulated sugar
  • 3/4 cup peanut butter
  • 1 egg, room temperature
  • 1 tsp. vanilla extract
  • 1/2 tsp. baking soda
  • 1/2 tsp. cream of tartar
  • 1 1/4 cup all-purpose flour
  • 1/4 cup oat flour
  • 1/4 cup oats
  • 3/4 cup m&ms
  • 1/2 cup semi-sweet chocolate chips

Preheat oven to 350 degrees F. Line a baking sheet with parchment paper or a silicon mat. 

In a large bowl or a stand mixer, cream the butter and the sugars together until light and fluffy. Add in the peanut butter, then the egg, then the vanilla, mixing well before each addition. 

Whisk together the baking soda, cream of tartar, flours, and oats together. With the mixer on low, slowly add in the mixed dry ingredients until just combined. Fold in the m&ms and the chocolate chips.


Form flattened rounds using about 1/4 cup of dough for each and place onto baking sheet, about 2 inches apart. They will not spread much when cooking.


Bake for 10-12 minutes until just turning golden brown. They will appear undercooked, lightly flatten with the back of a spatula and set aside to cool for 10 minute on the baking sheet before transferring to a wire cooling rack. Repeat with the remaining dough. 

Wednesday, February 4, 2015

Coffee Cup Shortbread Cookies


Though Andrew and I have been in our house for about 5 months now, we are still finding ourselves getting settled; upgrading appliances, doors, and even toilets. Isn't homeownership a beautiful thing? Who knew I could get so excited over a new toilet seat? Or a door? But, alas, here I am. I am also finding housewarming gifts that have yet to be put to use. This amazing coffee cup cookie cutter is one of those beloved gifts. It's been sitting on my pantry shelf in plain sight, just waiting for me to pick it up, and finally I got around to baking some fun coffee cookies to serve with your morning brew. While the ingredients are fairly basic and assembly is ridiculously simple, please keep in mind that you need to chill your dough before baking, so give yourself ample time to make these. I ground my coffee myself for additional freshness, and the fresh vanilla bean really adds another depth of flavor. This batch made out 20 or so cookies, and let's just say they were gone in the same number of hours.


Coffee Cup Shortbread Cookies

Ingredients:
  • 1 cup unsalted butter, room temperature
  • 1 cup powdered sugar
  • 1 tbsp. coarsely ground coffee
  • 1/2 vanilla bean, split and seeds scraped out
  • 1/2 tsp. salt
  • 2 cups all-purpose flour

In the bowl of a stand mixer, whip the butter until light and fluffy. Add in the powdered sugar, coffee, vanilla bean, and salt. Turn on to low until the powdered sugar is combined, scrape down the sides, then increase the speed to medium for about 4 minutes until the dough lightens in color and becomes well combined.

Add in the flour and mix for 1-2 minutes, scraping down the sides as you go. Once the dough comes together, form a ball with your hands and place onto a sheet of saran wrap.

Place another piece of saran wrap on top and roll out using a rolling pin until about 1/4-inch thick. Place the sheet of dough into the fridge for at least 3 hours, or overnight.

When you are ready to bake, preheat oven to 350 degrees F. Cut your cookies with a cookie cutter, or into squares. Place about 2 inches apart on a parchment paper or silicon lined baking sheet and bake for about 12-14 minutes, until the edges are just beginning to turn a golden brown. Remove from the oven and allow to cool for 5 minutes before removing to a place or airtight container.


These will keep for a few days, but trust me, they will disappear within a day or two. 

Saturday, January 31, 2015

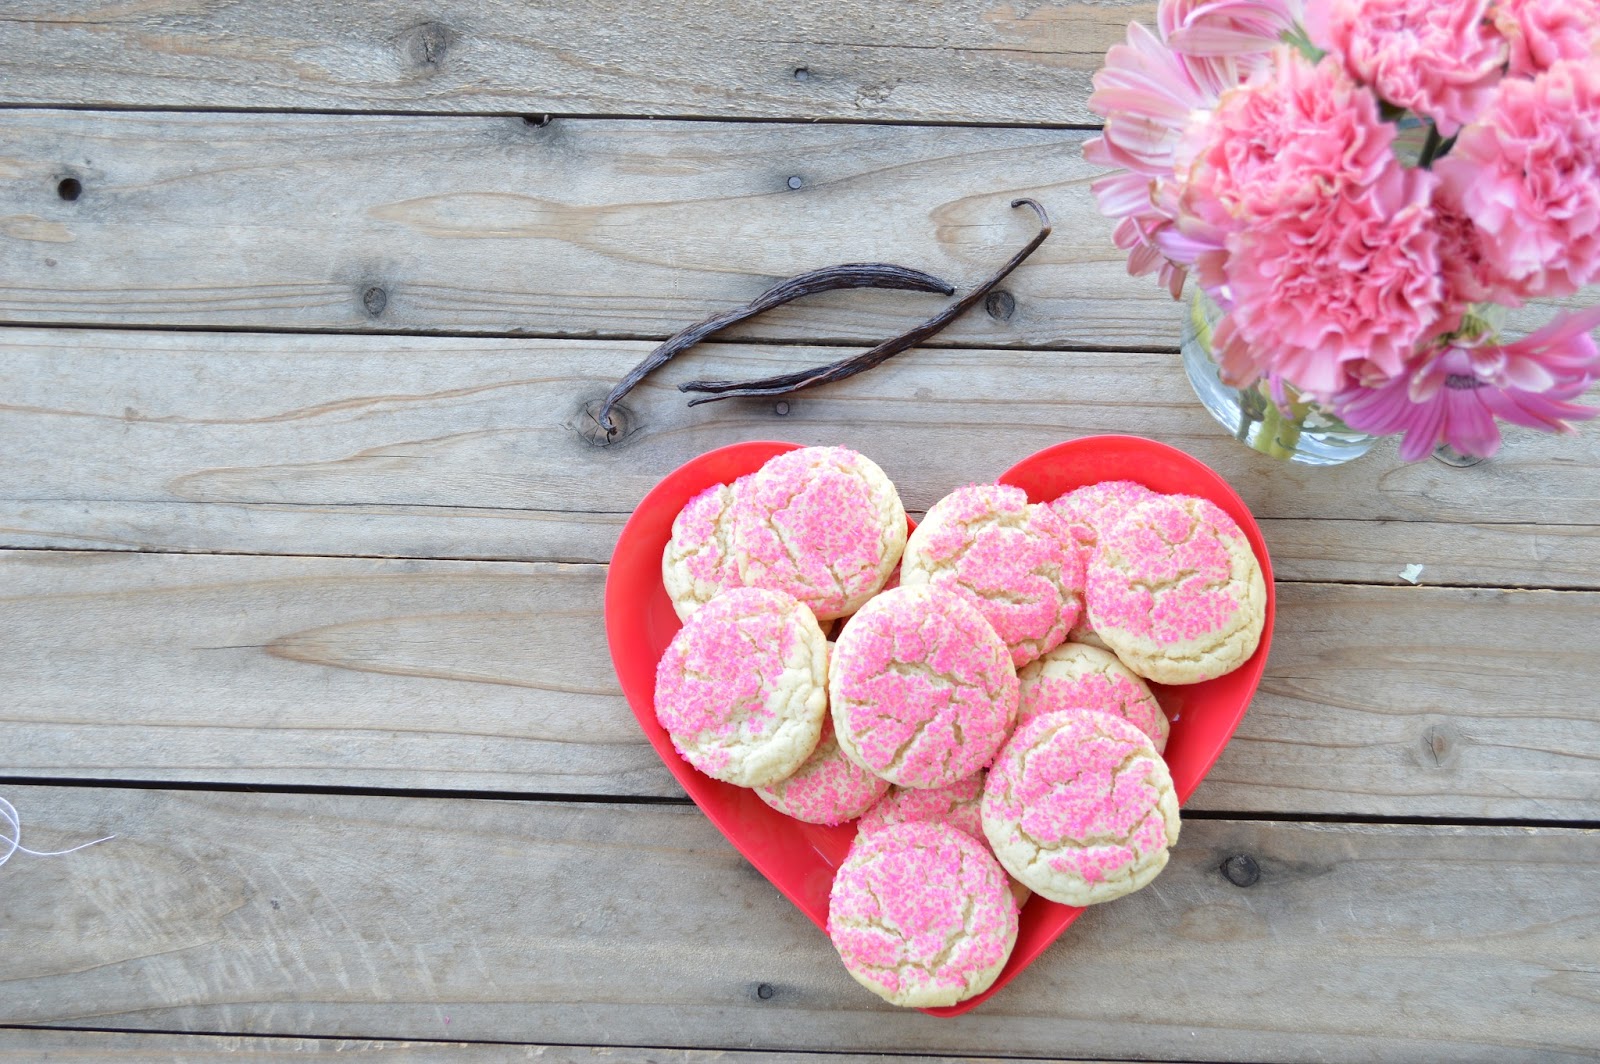
Vanilla Bean Sugar Cookies


It's here! February is here! While I've never been a huge fan of Valentine's Day, I sure can't seem to get enough of those damn conversation heart candies. I have them at home. I have a bag in my desk at work. I wouldn't be surprised if I find some in my gym bag at some point. It's probably a good thing that they are not sold year round or I would have a horrible health problem. But not only is it the month where over-priced chocolates and red roses are shoved in your face at every turn, it's also my birthday month! This year I have one of my best friends and future bridesmaid coming in town with her sister-in-law as well as Andrew's sister (my future sister-in-law!!!! Yay!) for a weekend of wedding dress shopping, brunches on patios, and mimosas. I might even whip up another batch of these delightful cookies for their arrivals. If you are looking for something to bake for your sweetie this year, I've got just the treat for you. These are slightly crispy on the outside and chewy on the inside, plus they are covered in sugar. Double yum!


Vanilla Bean Sugar Cookies

Ingredients:
  • 1 1/2 all-purpose flour
  • 1 tsp. baking powder
  • 1 tsp. cream of tartar
  • 1/2 tsp. baking soda
  • 1/2 tsp. salt
  • 1/2 cup unsalted butter, room temperature
  • 3/4 cup granulated sugar
  • 1 large egg, room temperature
  • 1 tsp. vanilla extract 
  • 1 vanilla bean, beans scraped out with a flat edge knife
  • 1/4 cup pink sanding sugar

In a large bowl whisk together the flour, baking powder, cream of tarter, baking soda, and salt. Set aside.

In a stand mixer or large bowl, cream together the butter and sugar on medium speed until light and fluffy. Add in the vanilla bean, extract, and egg. Mix well until combined, scraping down the sides with a spatula as needed.


Slowly add in the flour mixture on low speed until well combined. Using a 1-inch cookie scoop or small spoon, scoop out the cookie dough and roll into balls using your hands. dip the top halves of each of the balls into the pink sanding sugar, place on a large plate, and place into the fridge to chill for 2 hours, or overnight.

Preheat oven to 350 degrees F. Place chilled cookie dough balls onto a baking sheet lined with silpat or parchment paper. Bake for 11-12 minutes, until the edges are just starting to turn golden brown. Remove form the oven and allow to cool on the counter for a few minutes before placing in an airtight container. If any of them even make it there.

 

design + created by strawberriesnwine.com | 2014